Lightening wooden furniture
” This is how the type change of your furniture succeeds “
Do you have old wooden furniture at home that you actually like very much, but are simply not bright enough? Maybe you own beautiful country house furniturewhich, due to their dark color, however, seem too bulky and oppressive? Upcycling is the magic word here: In this article we will show you how to lighten dark wood furniture sustainably, easily and at no great cost and why you do not need bleach to lighten it.
Why lighten wooden furniture at all?
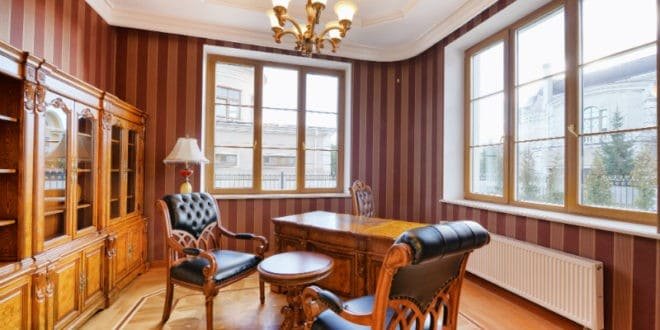
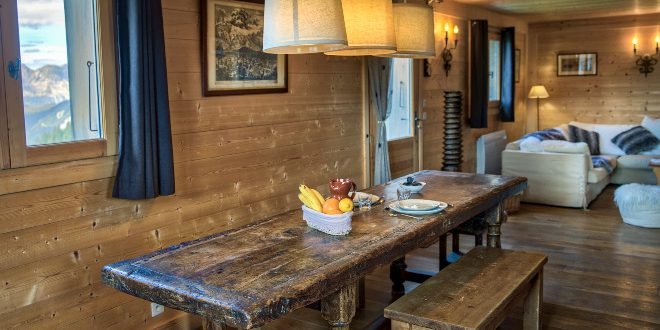
Dark wood furniture is beautiful and often also fits harmoniously into a modern interior style by providing a special anchor and focal point in the room. Nevertheless, it may be that a lighter color scheme can enhance a piece of furniture and make it look more modern and fresh. Especially if a uniform look is preferred, and there are other wooden furniture in the room that is bright. You can also change the overall appearance of a piece of furniture and thus also the room in which it stands with a lighter color scheme.

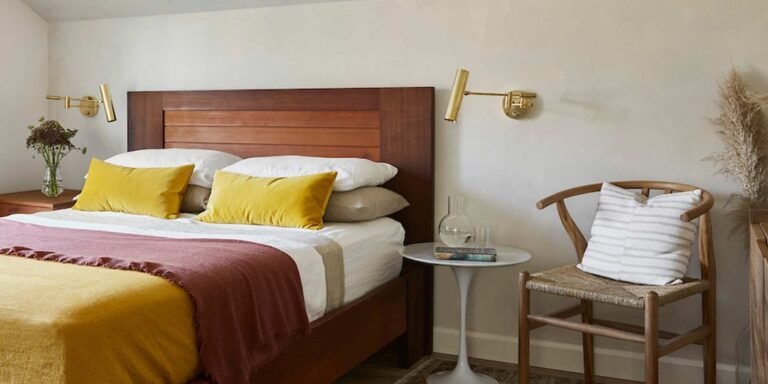
A modern interior style such as the Scandinavian style is characterized by bright, friendly colors. Here, light wooden furniture, which is allowed to have an antique and high-quality look, harmonize particularly well with each other. Country house furniture painted in light wood tones or white, light blue or light gray is in great demand in this modern interior style.
Sometimes you just want to restore the natural tone of the wood and refresh, for example, oak or teak furniture. Here, too, one can orient oneself well on the steps that we have listed in our article.

Lightening wooden furniture: the requirements
The basic prerequisite for being able to lighten wooden furniture is the material: only high-quality solid wood furniture is really well suited for lightening. Veneered wood, for example, can be damaged during lightening: during the upcycling process, there is a risk that the veneer will detach from the carrier plate of the furniture. Of course, this risk does not exist with solid wood.
To lighten a piece of furniture, you need some tools as well as the appropriate color or colorless glaze. However, you do not need bleach, for example, because lightening wooden furniture is not a bleaching of the color, but rather a lightening. In addition to a wood paint in the desired shade, you also need a primer, suitable brushes or a roller, sandpaper, foil or old newspapers to cover the floor and surrounding areas. Painting crepe can also be a good idea if, for example, certain parts of the furniture are to be taped. In addition, of course, painter’s gloves and a work apron are important utensils.

Lightening dark wood furniture step by step
Step 1: the preparations
Before it comes to lightening, the solid wood chest of drawers, the antique display cabinet or the wooden dining table should be thoroughly dusted and cleaned. The best way to do this is with a feather duster, a clean cloth and a little mild soapy water. It is important to thoroughly remove not only dust, but also stuck impurities such as dirt and fats. After cleaning, the piece of furniture should be dried well. In addition, all buttons, handles or fittings located on the piece of furniture should be removed to make it easy to treat the surfaces.

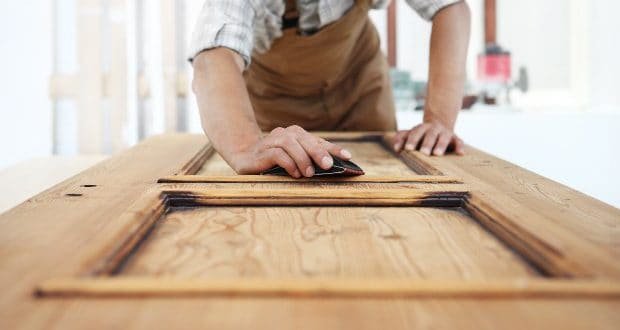
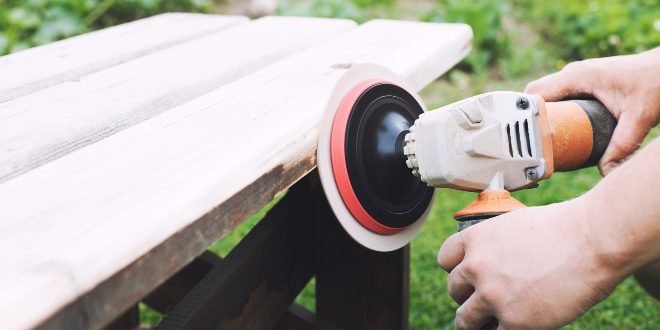
Step 2: Sanding with or without sanding block
In the second step, all surfaces are slightly sanded. This is necessary in order to obtain a uniformly smooth surface. A sandpaper with a fine grain is ideal for sanding, which ensures an easy roughening of the wood. You can just use sandpaper or/and a sanding block for this. A sanding block fits a little better in the hand and is therefore suitable for large, straight surfaces, while the sandpaper also makes it easy to reach more inaccessible places such as small corners and edges. When grinding, it is essential to work thoroughly and evenly. Accuracy is required especially with corners and edges. After sanding, all sanding residues are removed and the furniture is thoroughly dusted again.

Step 3: Priming or applying a barrier layer
A primer suitable for wood is now applied to the sanded surfaces with a brush and / or roller. A primer ensures that the paint adheres better and helps to achieve an even color result. If you just want to restore the natural wood tone that has discolored over time and refresh oak, walnut or teak furniture, for example, a special furniture regenerator or a colorless primer is best suited. Especially if the final color should be very bright – for example, white – a so-called barrier layer is interesting. This intermediate color layer prevents white color from yellowing. This often happens with very old furniture that has been oiled or has been exposed to fumes and cigarette smoke. For such a barrier layer, simple furniture varnish is ideal. As a shade for the intermediate color layer, light gray is particularly well suited.

Step 4: Whiten wooden furniture with varnish or glaze
Depending on the substrate and the desired color result, a single coat of glaze or varnish may be sufficient. The more intense and opaque the result should be, the more paints are needed to be able to lighten dark wood furniture. By the way, very beautifully even results can be achieved with a handy paint roller. This tool is especially suitable for larger areas. Brushes of various thicknesses perform well in fine work. If you want to apply several layers of paint, it is important to let the glaze or varnish dry completely.

So that even the smallest bumps, crumbs or hairs disappear and the paint adheres as well as possible, you can sand between the different paints. It is important that the varnish, glaze or paint has completely dried. The intermediate grinding is quite simple with an abrasive block with a fine grain.