Kitchen Renovation, Stages And Sequence
 Kitchen renovation on the doorstep… and should we start from the doorway? The question is important. Consider the main stages of kitchen renovation, their sequence, so that it does not turn out that you are doing the renovation backwards.
Firstly, if you are renovating a kitchen in a residential apartment, then you should dismantle the kitchen. Dismantle everything that is there: peel off the wallpaper, remove the floor coverings, the kitchen system, etc. If you are renovating a kitchen in a new building and you have bare walls, the next step is to evaluate the premises. A room with a level is viewed, measured and everything in the complex gives a clear picture of what should be done. After assessing the condition of the premises, we proceed to planning. This is the most crucial stage! At this stage, kitchen renovation includes planning kitchen furniture, flooring, decorative wall decoration.
After that, you order the manufacture of furniture based on your requirements and the technical characteristics of the premises. A plan must be drawn up on paper with a diagram of outlets and water connections. As for the water supply at this stage, you already need to know which household appliances you will use. For example, refrigerator, built-in oven, microwave oven, dishwasher. To design furniture, the installation dimensions of these devices are required.
After you have made a kitchen plan, you can start rough work. That is, the main principles of kitchen renovation are going from dirty to clean. What includes the rough work is the replacement of communications – electricity and water supply, plaster, screed.
Kitchen Renovation. Roughing, Finishing And Finishing Works
There are two options for starting rough work. The first option is to make plaster first and then lay communications and plumbing on the new plaster, but later you will have to cover up the grooves or first change the communications, and then plaster. Everywhere there are pros and cons.
Finishing work is a putty of walls and ceilings, an apron for the working area, flooring, tile laying. It is advisable to start work from the ceiling and move down to the floor. The ceiling and walls are putty first, then it is all cleaned, the dust that remains after these works is removed, the walls are primed and after that you start laying the tiles. The tiles are laid on the apron and there are two options for laying the tiles on the apron: before installing the kitchen or after to adjust the tiles to the furniture.
The next stage of work is already finishing work after finishing finishing work is completed. We turn to painting work: painting the ceiling, painting walls, wallpapering, applying decorative coatings, and only after we have gone through all these stages, we proceed to installation.
Directly in the kitchen, together with the installation of the kitchen, household appliances, sinks, taps are installed, a water filter is connected, if there is one, lighting equipment, lamps are installed, lighting is made.
Kitchen Renovation. Tips For Choosing Materials
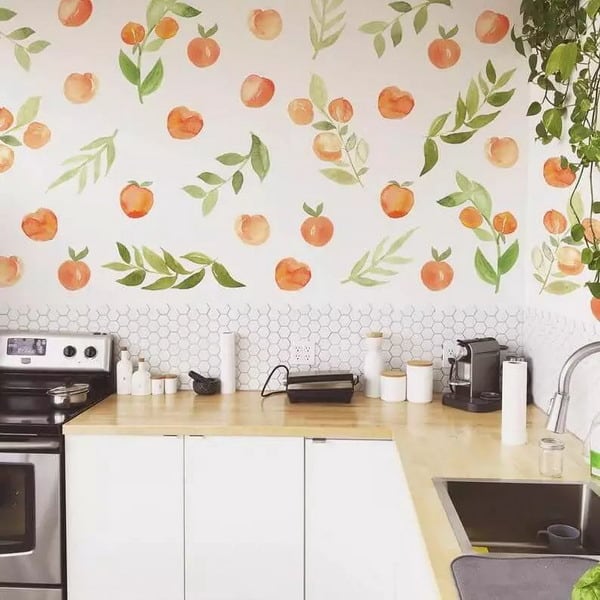
The apron in the kitchen should of course be made of a material that does not absorb moisture. The fewer seams, the better, because one hundred percent tightness can never be achieved, so rather than trying to create perfect joints, it is better to use a single canvas. As for the tiles, it is better to choose those tiles that are large in order to reduce the number of joints and dark grout should be preferred.
If you have a water filter, the dishwasher recommends not installing one outlet for water with adapters, no matter how good and durable they are. Sooner or later they will leak so if possible, install multiple water outlets.
The most important stage at which the most mistakes can be said is the placement of sockets in the kitchen. The reason is that all household appliances are connected in different ways. In small print, each instruction for the refrigerator says that it is forbidden to connect it through an extension cord. It can only be connected directly, and the cable is usually no more than 1 m, and in many models the freezer is also connected separately. There is a great variety of functional and simple options for placing sockets, from the fact that they can be hidden in one of the cabinets to modern solutions.
Kitchen Renovation. Household Appliances Placement
When renovating a kitchen, many difficulties can arise when placing hobs and ovens, because some are connected directly to a regular outlet, and some only to a three-phase outlet. Be sure to pay attention to this when deciding where to place the sockets in your kitchen.
The kitchen space will not forgive you for imperfect walls, especially the corner ones. It’s always easier to level each wall relative to its plane – most people do that. We recommend that all walls next to which the headset will be located should be strictly aligned at an angle of 90 degrees, otherwise you will definitely have problems installing the system.
Kitchen Renovation. Flooring
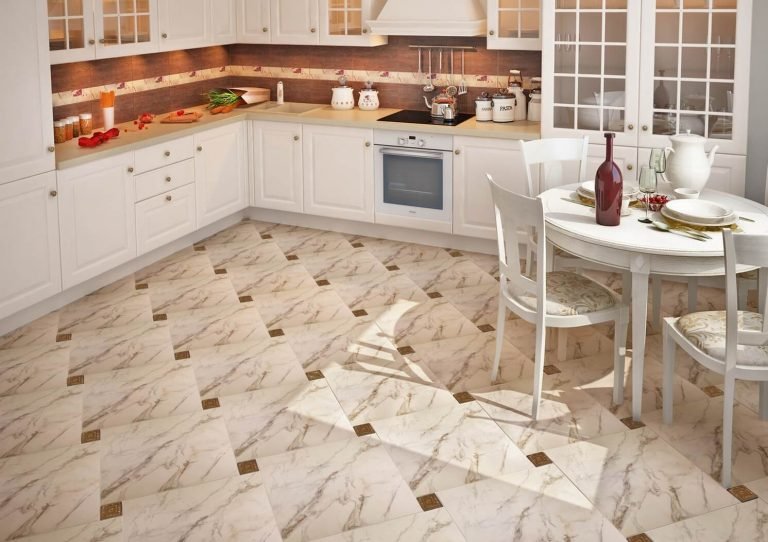
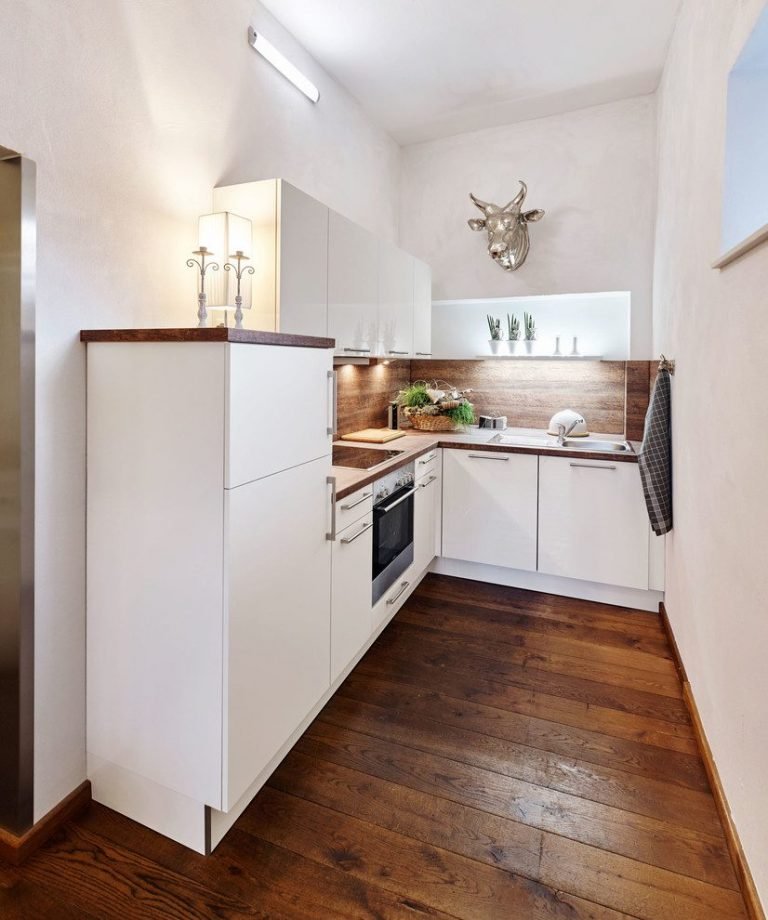
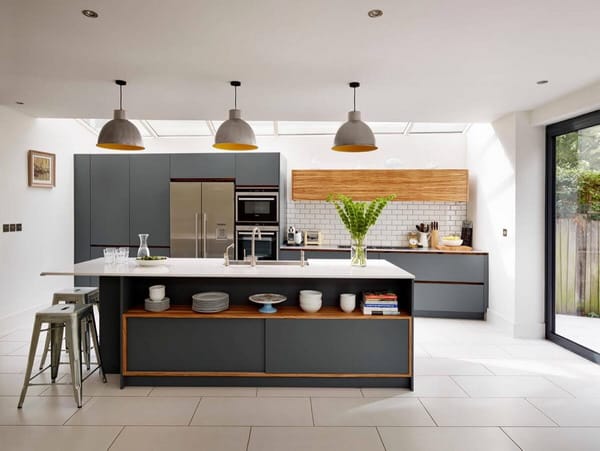
With underfloor heating, remember that if you suddenly decide to make it in the kitchen, in no case should it go under the headset, household appliances and, of course, the refrigerator. Many can afford a wooden floor and it is quite comfortable to coexist with it or with white very light tiles, but using such options is problematic. Firstly, because every chip will be visible on them, and secondly, every dent that appears very quickly, just one drop of the lid or pan is enough.
The best choice is the whole gray, graphite range is not monochromatic. This coating is the ideal solution where small defects will not be visible. Always cover the bottom of the headset with plugs or a strip, because if you leave the legs uncovered, dust and dirt will be almost impossible to remove from there! In general, it is very important in the kitchen not to leave open corners and crevices because dirt will accumulate very quickly.
Kitchen Renovation. Workspace Organization
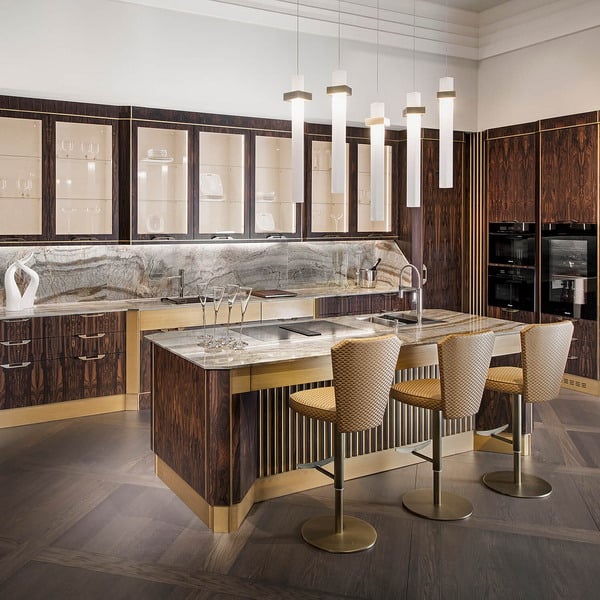
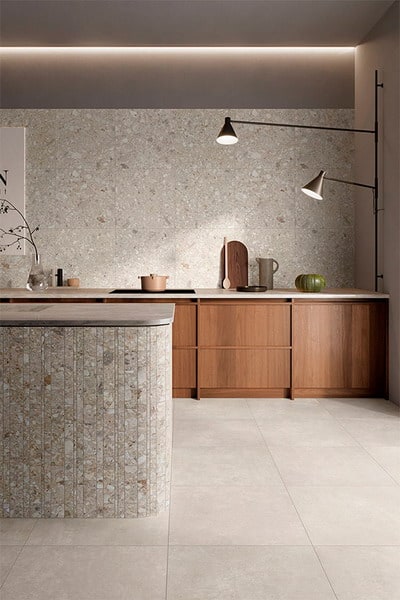
If wood and marble are an excellent solution for a bar counter, then most likely not for a work surface. Wood and marble will very easily absorb all the color pigments, which are abundant in cooking.
There are the following recommendations regarding the working surface: firstly, it should not be less than 120 cm, and secondly, for your convenience, it is worth building them in the sequence in which you will cook.
Kitchen Renovation. Hood
The next very important point is the hood and the ventilation hole. In this matter, many make mistakes that spoil the whole aesthetics of the kitchen. But you created it with such love and care! First, even if you put the hood in the ventilation hole, in no case should you close it up, because over time, mold will form there. Second, it is better even at the planning stage to think about where your stove and hood will be located. The ideal option is if they are on the ventilation holes, if you have not provided for such a solution, the headset has already been ordered, then you should immediately order a special case in which you can hide the corrugation.
We hope that these simple tips were helpful to you and that you will not make any mistakes when decorating your kitchen. Let your project delight you with convenience and comfort, system mobility and coating durability.